Capturing Screenshots in Various Methods on Windows Operating System
Windows provides numerous methods to swiftly capture screenshots of your desired content. Utilize various keyboard shortcuts and built-in tools to capture, annotate, and store screenshots and video recordings. Many of the screenshot shortcuts in Windows 11 correspond to those on Windows 10, except for a handful of exclusive screen capture features tailored to Windows 11, such as tools that enable you to capture specific areas of your screen rather than your entire desktop.
The techniques mentioned in our comprehensive guide can be applied to both desktop and laptop computers running Windows, making it an excellent resource if you're trying to figure out how to take screenshots on Dell, Asus, Acer, HP, Lenovo, and Surface devices.
Employing Windows 11's Print Screen Shortcuts
Starting with the most obvious method, the Print Screen key (abbreviated as "PrtScr" on certain keyboards), which serves as your keyboard's dedicated screenshot button. Full-sized keyboards usually feature a dedicated Print Screen key, but smaller keyboards and laptops often place the Print Screen key as a secondary function elsewhere (normally on the F12 key). In such instances, you must press the "FN" key and the Print Screen key simultaneously.
Several methods can be employed to utilize the Print Screen key for screenshots, but here are the most common approaches:
- Press the "Windows" key plus the "Print Screen" key to save a PNG image of whatever is currently displayed on the screen within the "Pictures > Screenshots" folder.
- The standard screenshot technique in Windows involves merely pressing "Print Screen" (or "FN + Print Screen") to copy an image of the current desktop to your clipboard. Once the screenshot is copied, open any image-editing or word-processing app that supports images, and paste it (either "Right-click > Paste", or press "Ctrl + V"), then save the document.
- Press "Alt + Print Screen" to copy a screenshot of the currently active window or app to the clipboard. Make sure you select the desired app or folder window before pressing the shortcut. Then, paste and save the screenshot in another program.
- If your keyboard lacks a Print Screen key, using the "Windows" key plus "FN + Space" shortcut will still copy a screenshot to the clipboard.
Utilizing the Windows 11 Snipping Tool
In addition to the default Print Screen shortcuts, Windows 11 offers a built-in application that allows you to click and drag to select specific areas for screenshots: Snipping Tool. The Snipping Tool incorporates the previous Windows function, Snip & Sketch, allowing you to take a screenshot, crop, edit, or draw over the selection, and save it as an image. The Snipping Tool menu also includes a capture delay, enabling you to time your screenshot to occur three, five, or ten seconds later.
The easiest way to get started is by searching for "Snipping Tool" in the Start menu and opening it from the search results. You can also alter the Print Key function to open the Snipping Tool instead of taking a screenshot by adjusting the Windows 11 settings menu:
- Navigate to "Settings > Accessibility > Keyboard."
- Activate "Use the Print Screen button to open screen snipping."
- Close the Settings menu, and then press "Print Screen" to launch the Snipping Tool.
You can also find this option within the Snipping Tool's in-app settings.
Here's how to take a screenshot using the tool once it's open:
- Click "New" from the Snipping Tool pop-up menu.
- A tiny menu appears at the top of the screen, and your desktop dims slightly.
- The menu includes four icons that change the snippet shape: The first icon on the left represents a rectangular selection; the second is a "freeform" selection, which allows you to draw an outline to snip; the third captures the currently selected app or folder window (like "Alt + Print Screen"); and the right-most icon is a full-screen capture (like pressing the Print Screen key or "Windows" key plus Print Screen).
- Choose the selection type you would like, then click and drag to select the part of the screen you wish to save as a screenshot.
- The image will open in the Snipping Tool menu. You will find several editing options, including pen tools, image cropping, and other adjustments you can utilize, if desired.
- Click the "Save" icon to save the image to the "Pictures > Screenshots" folder.
Credit: Lifehacker## Using the Windows 11 Snipping Tool Shortcut
If you prefer taking screenshots without navigating the full Snipping Tool application, you can employ this shortcut instead:
Credit: Lifehacker
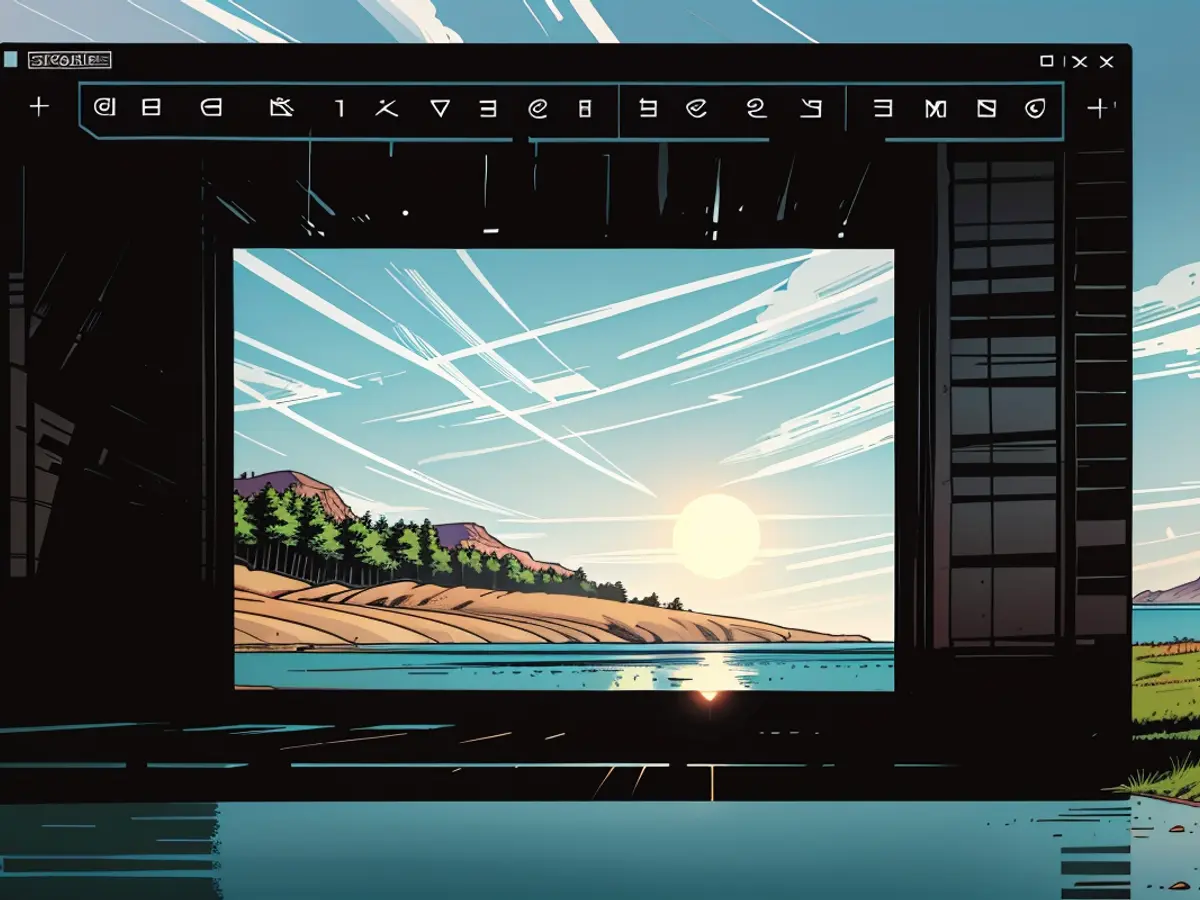
- Press "Windows" key plus "Shift + S" at any time when you aren't utilizing the Snipping Tool. This skips the Snipping Tool menu with settings for delay timers and takes you directly to the screengrab menu.
- After capturing the screenshot, it will be copied to your clipboard so that you can paste and save it elsewhere.
- You may also click the pop-up notification to open your screenshot in the Snipping Tool, enabling you to edit and save it as an image.
The final method we'll discuss for taking screenshots in Windows 11 is utilizing the Xbox Game Bar. The Xbox Game Bar is already pre-installed on Windows 10 and 11 and offers various tools such as an audio mixer, Xbox social menu, and screen capture tools, which are excellent for capturing gameplay videos or screenshots. However, it can also be used to grab screenshots of whatever's currently displayed on your screen. Ensure that you have the "Record game clips, screenshots, and broadcasts using Game bar" option toggled on in your settings.
- To initiate the Xbox Game Bar overlay, press Windows Key + G.
- Locate the "Capture" window, typically situated in the upper-left corner by default. Click the camera icon to capture a screenshot. Alternatively, use the shortcut Windows key + Alt + Print Screen to take the screenshot.
Using the Xbox Game Bar for screenshots operates in a similar manner to the standard Print Screen shortcuts or the Snipping Tool, but it serves as a backup option. The advantage lies in the fact that Xbox Game Bar screenshots are saved to a distinct folder, which can be useful for organizing certain screenshots, such as gameplay images, separately.
Credit: Lifehacker## Screen recording techniques on Windows
To record your screen on Windows, launch the Snipping Tool and hit the "Record" button in the toolbar, followed by "New." Select the region on your screen you wish to record and tap "Start." Press "Stop" to end the recording and save or edit the clip using ClipChamp (add captions or audio, for instance).
Alternatively, you can utilize the Xbox Game Bar for screen recording. Open the application or game you intend to capture, then press the shortcut Windows key + Alt + R to start and stop the recording.
Setting up a screenshot timer on Windows
The Snipping Tool includes a timer function if you require a few extra seconds to find the menu or window you wish to capture. Click "Delay" (the timer icon), choose the length of the timer you prefer (3, 5, or 10 seconds), then press "New" to initiate the countdown and arrange your screen. Once the screen greyscales, select the area you want to capture.
Screenshot storage locations on Windows
The majority of the Print Screen shortcuts and the Snipping Tool shortcut will copy screenshots to the clipboard. From there, you can paste and save the images wherever you need them, such as in a document or photo editor. The Windows key + Print Screen shortcut, which captures the entire screen, will send the image to "Pictures > Screenshots."
For screenshots captured using the Snipping Tool app, click "Save" and save it to the "Pictures > Screenshots" folder. If you're using the Xbox Game Bar, your screenshots will be saved to the Windows 11 Videos folder (Videos > Capture).
Discover more tips on screenshotting on other platforms here:
- Capturing Screenshots on Android
- Taking Screenshots on an iPhone
- Capturing Screenshots on a Mac
Credit: Lifehacker
This text provides detailed instructions on how to take screenshots in Windows 11 using various methods, such as the Print Screen key, the Snipping Tool, and the Xbox Game Bar. Here are two sentences containing the words 'how to take screenshots in windows' and 'tech':
- If you're having trouble figuring out how to take screenshots in Windows, our comprehensive guide offers step-by-step instructions for both desktop and laptop computers running Windows.
- Embracing tech innovations, Windows provides numerous methods to swiftly capture screenshots of your desired content, from using keyboard shortcuts to built-in tools.
