Growing Your Own Garlic Is a Money Saver (and It’s Easy)
Garlic is a bit of a garden anomaly. It’s planted in fall and then hangs out until mid-summer, harvested in time to give you a tiny window to grow something else before fall hits and it’s time to replant. Still, it’s one of the easiest plants to grow, with exceptional yields. If you’re like me and use garlic all the time, it’s a crop you should absolutely try, as long as you’re ready to give it its own bed.
Garlic seed is just garlic cloves

Credit: Amanda Blum
Unlike true seeds, most people plant garlic cloves to get a harvest of garlic. In fact, if you buy garlic at the garden center, you’ll notice it looks like garlic you buy in the store. Once you have your first crop, you’ll realize how cost-effective it is to save a few of the heads you grew, split them up and replant them. Every year you gain more garlic. While you can purchase cloves at your garden center or online, lots of people also plant run-of-the-mill garlic from the store and it, too, has a relatively high yield.
When choosing the cloves you’ll actually plant, you want to choose the best and beefiest cloves to yield the best heads of garlic. As I split up the cloves in the garden, I place the smallest cloves in my pocket, bring them inside and use them for dinner.
There are technically two kinds of garlic: soft neck and hard neck. The neck is the stalk that rises through the center of the garlic. Soft-neck garlic has a neck you can cut through, and hard neck doesn’t. Soft neck tends to be ready for harvest sooner, and hard neck tends to last longer, once dried. Technically, soft neck garlic is easier to braid into those garlic wreaths you see, but as a seasoned braider, I've done so with hard neck garlic, too (although it's harder to do).
I prefer the taste and longevity of hard neck garlic, and while I used to grow a variety, I’m now in year three of only growing Music, a common garlic variety. It’s reliably produced flavorful heads, and while I sometimes prefer a spicier garlic like a Spanish Roja, the heads they produce are smaller.
Garlic needs spacing and good soil
Garlic grows over the summer, but you plant in the fall and it remains in the ground over the winter. If you missed the window, you get a second shot to plant it in early spring, but the sooner, the better.
Garlic needs loose, loamy, rich soil. Here’s where you want to focus on good compost and start with a well-cultivated bed. A slow-release fertilizer is ideal to sprinkle into the soil and work in.
Each year, your bed's soil compacts, and you lose some soil as you harvest. Usually you top off those beds with compost. I don’t do that, which means my beds are a little low when it’s time to plant garlic. I rake the bed smooth, and sprinkle on my fertilizer. Then I take my cloves and plant them in a grid, eight inches apart. By plant, I take each clove, still in its papery cocoon, and I stick it into the soil, with the sharp tip up, so it is visible above the soil. This is so you can see where each one is. Then I cover the entire bed with a few inches of compost. I then cover that with a few inches of mulch. (I use wood chips.)
How to deter squirrels over winter
Squirrels and other animals aren’t particularly drawn to garlic, but they are drawn to a nice place to stick their nuts. If you don’t protect your garlic bed, you’re going to start seeing a bunch of holes dug in the mulch—but I have devised the perfect foil. I cut a piece of hardware fabric the size of the bed, and then lay it across the bed and screw it down. The holes are large enough for the garlic sprouts to grow through, and by the time the garlic outgrows the fabric (which you roll off) you’ll be well into spring, and the garlic has a fighting chance against the squirrels.
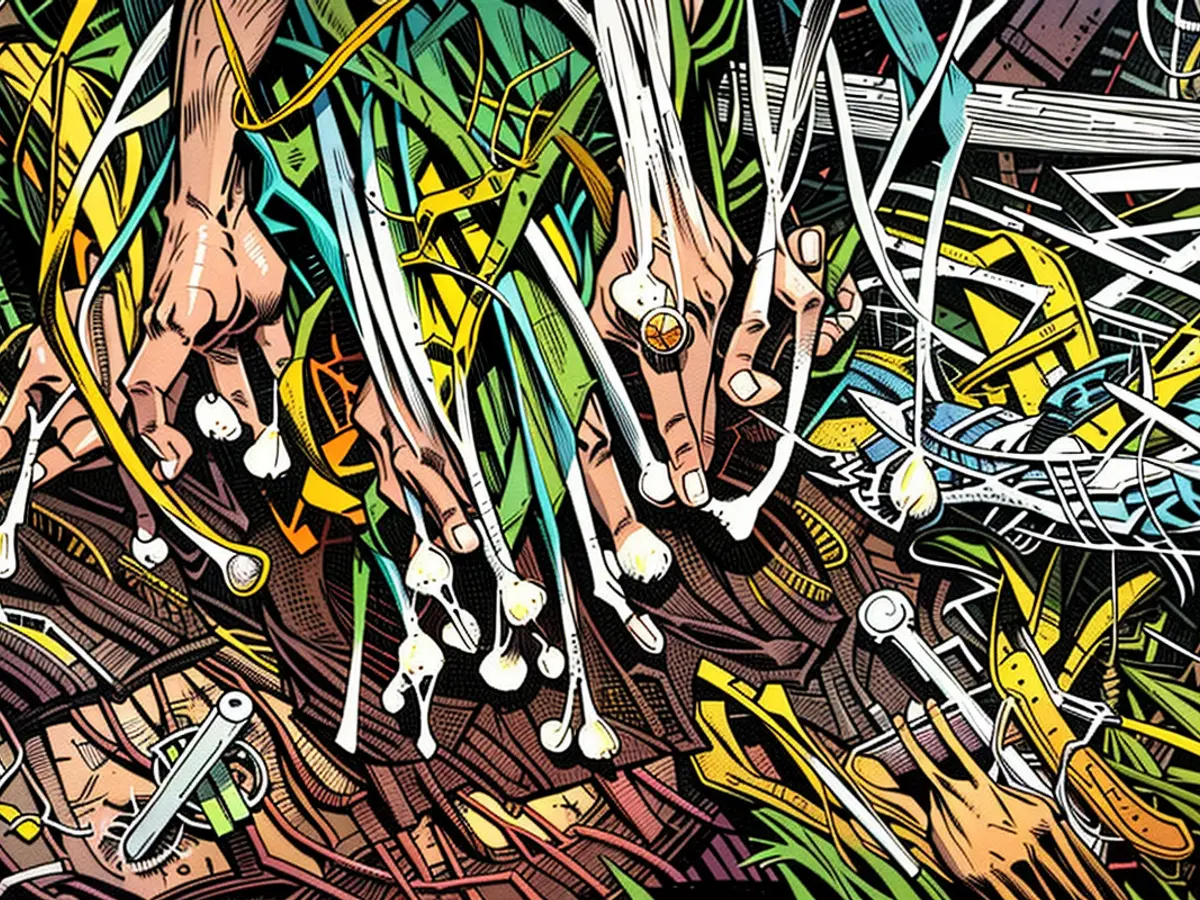
Garlic has two harvests: scapes and heads
Plants sprout with the intention of forming seeds. Plants aren’t great at multi-tasking, so they tend to be able to only focus on one thing at any time. Forming roots, forming greenery/flowers, or forming seeds. Once they start to produce seeds, the rest of the plant is done. In order to get those really nice big bulbs of garlic, you want to stop the plant from that seed production—and luckily, garlic makes that easy and delicious. In early summer, the plants will send up a hard stalk that will curl like a pig tail once it has some loft to it. At the end, you’ll be able to see a bud of a flower. That is the scape. You want to make sure to take that scape off before that flower opens up, since that is where the seeds come from. The trick is waiting long enough so the scape is edible. This will happen over a week or so in a bed, so you want to check daily, but make sure to wait until the scape has made that curly-q shape. Then break it off as close to the base as you can.

Scapes ready to be harvested.Credit: Amanda Blum
The real harvest comes mid summer, when it is time to harvest the bulbs. By now, you’ll have tall green stalks rising from the soil for each bulb. The outside of the stalk has papery layers, like an onion. The rule is that when the two to three lowest leaves/layers turn brown, it’s go time.
To harvest, do not pull on the necks of the garlic—use a hand spade. Holding the neck, slide the spade down vertically a few inches away until it is as far in the soil as possible, and then push it towards the stalk. This will loosen the garlic so you can pull it out. Be methodical, going along the grid.
Processing your scapes
Scapes are pungent and concentrated in flavor. While some people grill or pickle them, my favorite recipe is to make a koshō with them, a recipe of Jori Jayne Emde that I use. Blitz the scapes in a blender or food processor, then weigh the scapes, and add 20% salt to them. Mix well and then allow to ferment in a jar. She lets it hang out on a shelf for a few weeks before moving it to the fridge, but at that level of salt, I believe it to be shelf-stable, so it remains there all year. After six months, it will become the most spectacular paste, to be used as a rub on any protein or a base for soups or sauces.
Curing your garlic

Am I too excited about these braids? Yes. Yes I am. Credit: Amanda Blum
The heads themselves need some work when they come out of the soil. They need to be cured in order to last a few months. This involves cleaning the garlic and then exposing it to a nice breeze and dry but cool conditions. To clean up the garlic, pull off the lowest leaves altogether, leaving a nice clean bulb.
If you intend to braid your garlic, leave the stem on and braid away. If you’ve ever french braided hair, it's the same method. Start with three heads of garlic making a basic braid. On each subsequent crossover, add a head of garlic and add the stem to the crossing handful. At the end, continue your braid without adding more garlic and then tie the braid off with twine or a knot of the stems.

Credit: Amanda Blum
You don’t have to braid garlic—you can simply store it. In this case, trim it off five inches above the bulb.
Regardless of your method, you'll want to put the garlic someplace airy but dry—inside or under cover—and you want to hang it in a way that air will move around the whole bulb. So lay them out or use chicken wire suspended in the air that you stick garlic heads through. If you’ve braided the garlic, hang it up.
When the whole stalk is brown and outer layers are papery, your garlic is ready. This takes from two weeks to a month. Once cured, you want to store the garlic someplace it gets airflow and cool temperatures.
Long-term storage
The best solution for long term storage, if you sense your garlic starting to sprout or turn, is to process it into your own garlic powder. By peeling all the garlic and dehydrating it sufficiently, you can then grind it into a powder that's pretty shelf stable, so long as you’ve really dried it.
After seeing the cost-effectiveness of growing your own garlic, you might consider saving some of your harvest to plant the following year. To ensure the best results, choose the largest and healthiest cloves for planting.
Once you've learned the art of growing garlic at home, you might find yourself gravitating towards planting in your own garden bed. This allows you to control the soil composition and spacing, ensuring optimal growth conditions for your garlic crop.


)