Five simple tips - Simple Christmas decorations with an impact
If you don't want to spend money on Christmas decorations or don't know how to go about decorating, the following five tips are the best way to get inspired. After all, you can make your own home more beautiful over the Advent and festive period without spending a lot of money or using lots of materials.
1. orange slices as a garland or on the tree
This fruity Christmas decoration not only looks good, it also smells fantastic. As in the TikTok video, cut an orange into slices one to two centimetres thick and dab a little with kitchen paper. Now there are two ways to let the slices dry. If you have time, leave them in the air for a few days, for example on kitchen paper on the radiator or in a sunny corner of your home. If you need to go faster, the oven is a good option.
Preheat the oven to 80 to 100 degrees and place the slices on a rack lined with baking paper. Leave them in the oven for two to three hours, opening the oven door a crack. Turn the slices over every 30 to 60 minutes. Then leave the finished oranges to cool and, in the next step, pierce the flesh with a knife on the left and right side of the edge (just before the peel). Pull a long string through the holes and string the slices together on the garland. If you would rather have the orange slice on the Christmas tree, just pierce a hole in the flesh with the knife, pull the string through, tie the two ends together and - voilà - you have a pendant.
2. paper Christmas angels to hang up
For the pretty, minimalist angel figures on TikTok , fold a piece of paper (DIN A5 or A6 is sufficient here) like an accordion: Fold it down from the top by about one centimeter, turn it over and fold it down again. As soon as the sheet has been folded downwards in sections, alternating on each side, place it so that the lines run vertically. Pinch the bottom edge between two fingers and crease the sheet by about a third to the top left or right.
Glue the folded corner in place. Do the same with the second sheet. Then arrange the two leaves next to each other in mirror image so that the folded corners - the angel wings - each point in one direction. Place a string between the two pieces and glue them together so that part of the string sticks out at the top. The angel's body is finished. For the head, pull a bead with a hole, for example made of wood, over the string. The hanging angel can now be tied to the Christmas tree.
3. cute snowman figure made from toilet roll
This Christmas decoration inspiration on TikTok will make your sustainability heart beat faster. Grab the nearest toilet roll and white paper - for example, the packaging material from the last parcel. Fold the roll once in the middle and staple the ends together. Tear the paper in half and crumple it up to make two round balls. These are then stuffed into the two openings of the toilet roll and form the face and body of the snowman.
Double a piece of thread and pull it sideways between the roll halves to the front of the stapled area and tie a bow at the front. Use a black felt-tip pen to draw two dots for the eyes and five dots for a smiling mouth on the top ball. Draw three dots for the buttons on the bottom paper. Now stick two small branches from each side between the roll halves and stick an orange nose between the eyes and mouth. This can be a small piece of paper rolled up and painted orange. The little snowman is ready.
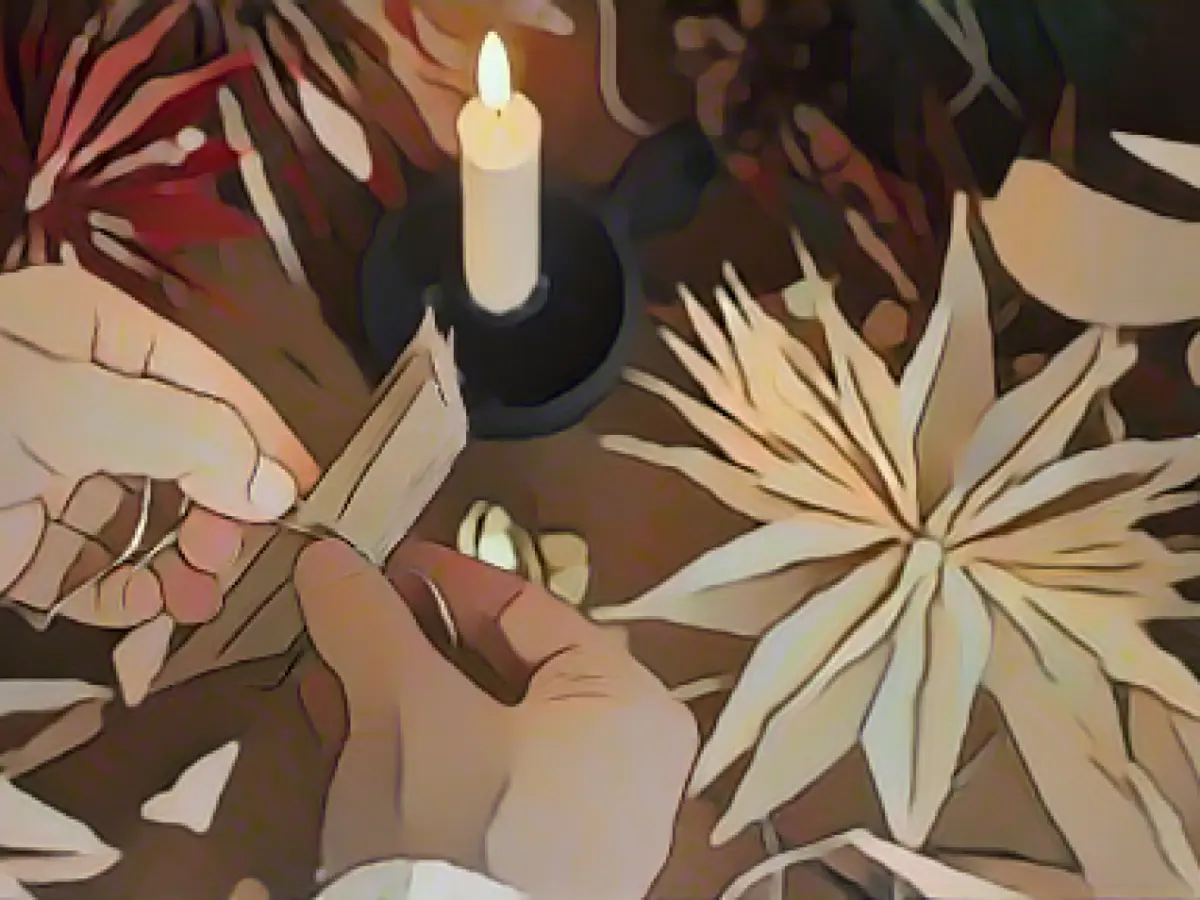
4. poinsettias for the table
It couldn't be easier, as a short YouTube video shows: All you need for the paper Christmas stars is a sheet of paper, a thin thread and glue. The size of the paper can vary depending on the desired size of the star. Place the sheet of paper on the table and fold it down by about one centimeter. Then turn it over and fold it down again - repeat alternately to the end to create an accordion pattern. The folded sheet now has tips pointing forwards and backwards, so to speak. Lay the sheet on the table so that the folded lines run horizontally.
On the left-hand edge, carefully press the folds or "tips" of the leaf forwards from the back: the tips of the leaf then point downwards from the left on the horizontal lines and the edge of the leaf looks as if many M letters have been lined up. Press the sheet back together along the fold lines and tie with a thread. Apply glue to the top side and press both halves (left and right of the thread) together. Unfold the other side of the paper like a fan and also connect the underside with glue - a quick and effective table decoration.
5. snowflakes made from cotton buds
Here you can create art from a drugstore item: These snowflakes are made from cotton buds, as a TikTok video shows. You also need scissors and glue - a hot glue gun is best. If you only have ordinary liquid glue at home, you can also glue the cotton bud snowflake onto a sheet of paper and then cut it out as shown in the short YouTube video. The first step is to cut away one end of the cotton bud and place it on a surface that can withstand glue - for example, on the plastic lid of a roll of potato chips.
Then stick eight whole cotton buds all around like sunbeams. Now glue a second layer of another eight sticks directly onto the previous ones on the upper side of the star flake. Now cut four new sticks in half and glue the resulting eight short pieces between the long ones. In the next step, cut another eight cotton buds in half and cut off the end pieces and put them to one side. Two wadding-less stick halves now belong between the long "rays" glued in the first step. To do this, glue the halves on both sides in the middle of the "rays" so that they point outwards like a star. Place the absorbent cotton end pieces on the tips. If you want to decorate the snowflake even more, you can glue more absorbent cotton ends to the outside of the snowflake - to the left and right of the absorbent cotton stick ends that were fixed in the first step. Tie a string around one part of the snowflake to hang it up.
Lesen Sie auch:
Source: www.stern.de


